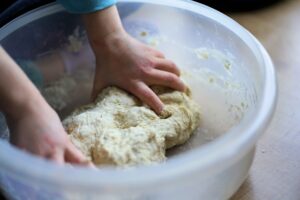
This sourdough recipe is very easy to make and only requires a little hands-on time and preparation. Everyone should be able to bake following the instructions and using a well-ripe and mature sourdough starter. Baking sourdough bread can be very intimidating at the beginning. There are so many variables to consider when baking – ambient temperature, humidity, how active the sourdough starter and others. That said, once you gain a little bit of experience you should be able to bake amazing loaves at home.
The most important things to making beautiful, tasteful sourdough bread, can be summarised into these five rules:
- To develop a fantastic taste you need to proof and rest the bread for a long period of time. You do that by using autolyse (where only water and flour are mixed and rest for a while) and by letting the bread retard overnight in the refrigerator
- To get a crunchy crust and soft crumb you need to develop the gluten in the dough. That is done by using autolyse and by stretching, folding, and fermenting the dough.
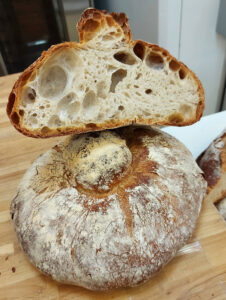
- To get a great oven spring, where the bread opens up and out, you need to build a membrane of gluten on the outside of your shaped dough
- You need to bake the bread very hot and with steam for the first 15-20 minutes so that the dough can expand greatly before the crust gets hard
- Last but not least you need to have the courage to not take the bread out of the oven too early. You don’t want it to get burned, but let it stay long enough to be nice and dark, super crispy and crunchy.
Feeding your sourdough starter
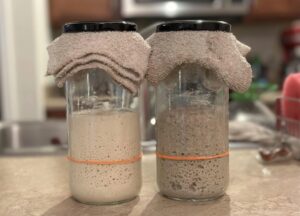
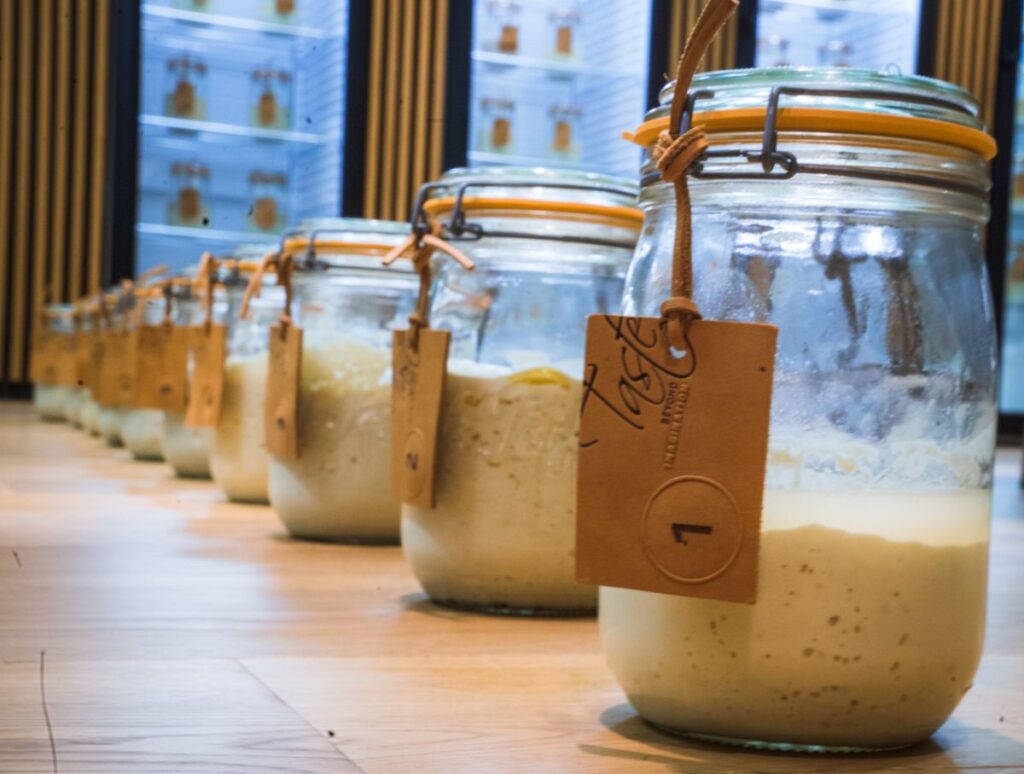
The starter is a mix of fungi and yeasts that need regular feeding with flour and water to keep it alive, active and healthy. If you bake more than 3 times a week it is best to feed your sourdough starter every day. If you bake weekly, it’s best to feed it once a week and keep it in the fridge.
How do we go about feeding it? It depends on when we plan to bake our sourdough bread:
- If we plan on baking the next day, we keep 40 grams of starter and add 40 grams of wheat flour and 40 grams of water. I then let it sit on the counter overnight for it to grow and double in size.
- If we plan on baking a few days later we just do a “maintenance feed”. I keep 20 grams of starter and add 20 grams of wheat flour and 20 grams of water.
The dough
For this easy sourdough recipe, we will keep things simple. We could use the following percentages and ingredients:
Hydration: 71%
Flour: 300g
Water: 201ml
Starter: 75g
Salt: 7g

We could then follow these simple steps:
- Mix the flour and water together. Cover with cling wrap or a damp kitchen towel and leave for 30 min.
- After the 30 min rest mix the starter through the wet flour. Cover with cling wrap or a damp kitchen towel and leave for another 30 min. After the rest use a spatula or your clean hands to evenly incorporate the salt into the mixture.
- Every 30 min perform a set of stretch and fold
Proofing
- Place the dough in a bulk container and monitor the growth. It should not grow more than twice the volume.
- After 4 hours place the dough onto a floured workspace, start folding the dough from one side into the centre repeat this with all the sides.
- Use your hands or a dough scraper and gently scrape the dough into a tight ball.
- Use your fingers to pinch seams and make sure it’s a tight ball. Gently rub some flour onto the top of the dough and let rest for 2 min or until the top and sides of the dough is less sticky.
- Prepare a proving basket or a pyrex dish with a cotton kitchen towel – by lightly dusting with flour.
- Place the dough, seamed side facing up, into the proving basket. Cover with the pyrex dish lid or cling wrap to prove overnight in the fridge.
Preheat
- The next morning carefully turn your dough out from the proving basket onto a baking tray, pyrex dish lid or baking paper (use inside your dutch oven)
- Preheat your oven to 230°C (446°F).
Scoring
- Scoring bread dough plays an important role in baking and helps your dough to rise consistently. So get creative use a sharp knife and cut the surface of the dough about 1/2 cm deep.
Baking Times
- Baking times might vary depending on the oven you use.
- If you are using a baking tray or stone pour boiled water into an extra dish that was preheated with the oven to create steam, and bake the dough for 35 minutes or until a golden-brown crust has formed
- If you are using a Pyrex dish or Dutch oven bake the dough for 20 minutes then remove the lid and continue to bake, uncovered, for a further 20 minutes or until a golden-brown crust has formed.


